How to hang OnStones
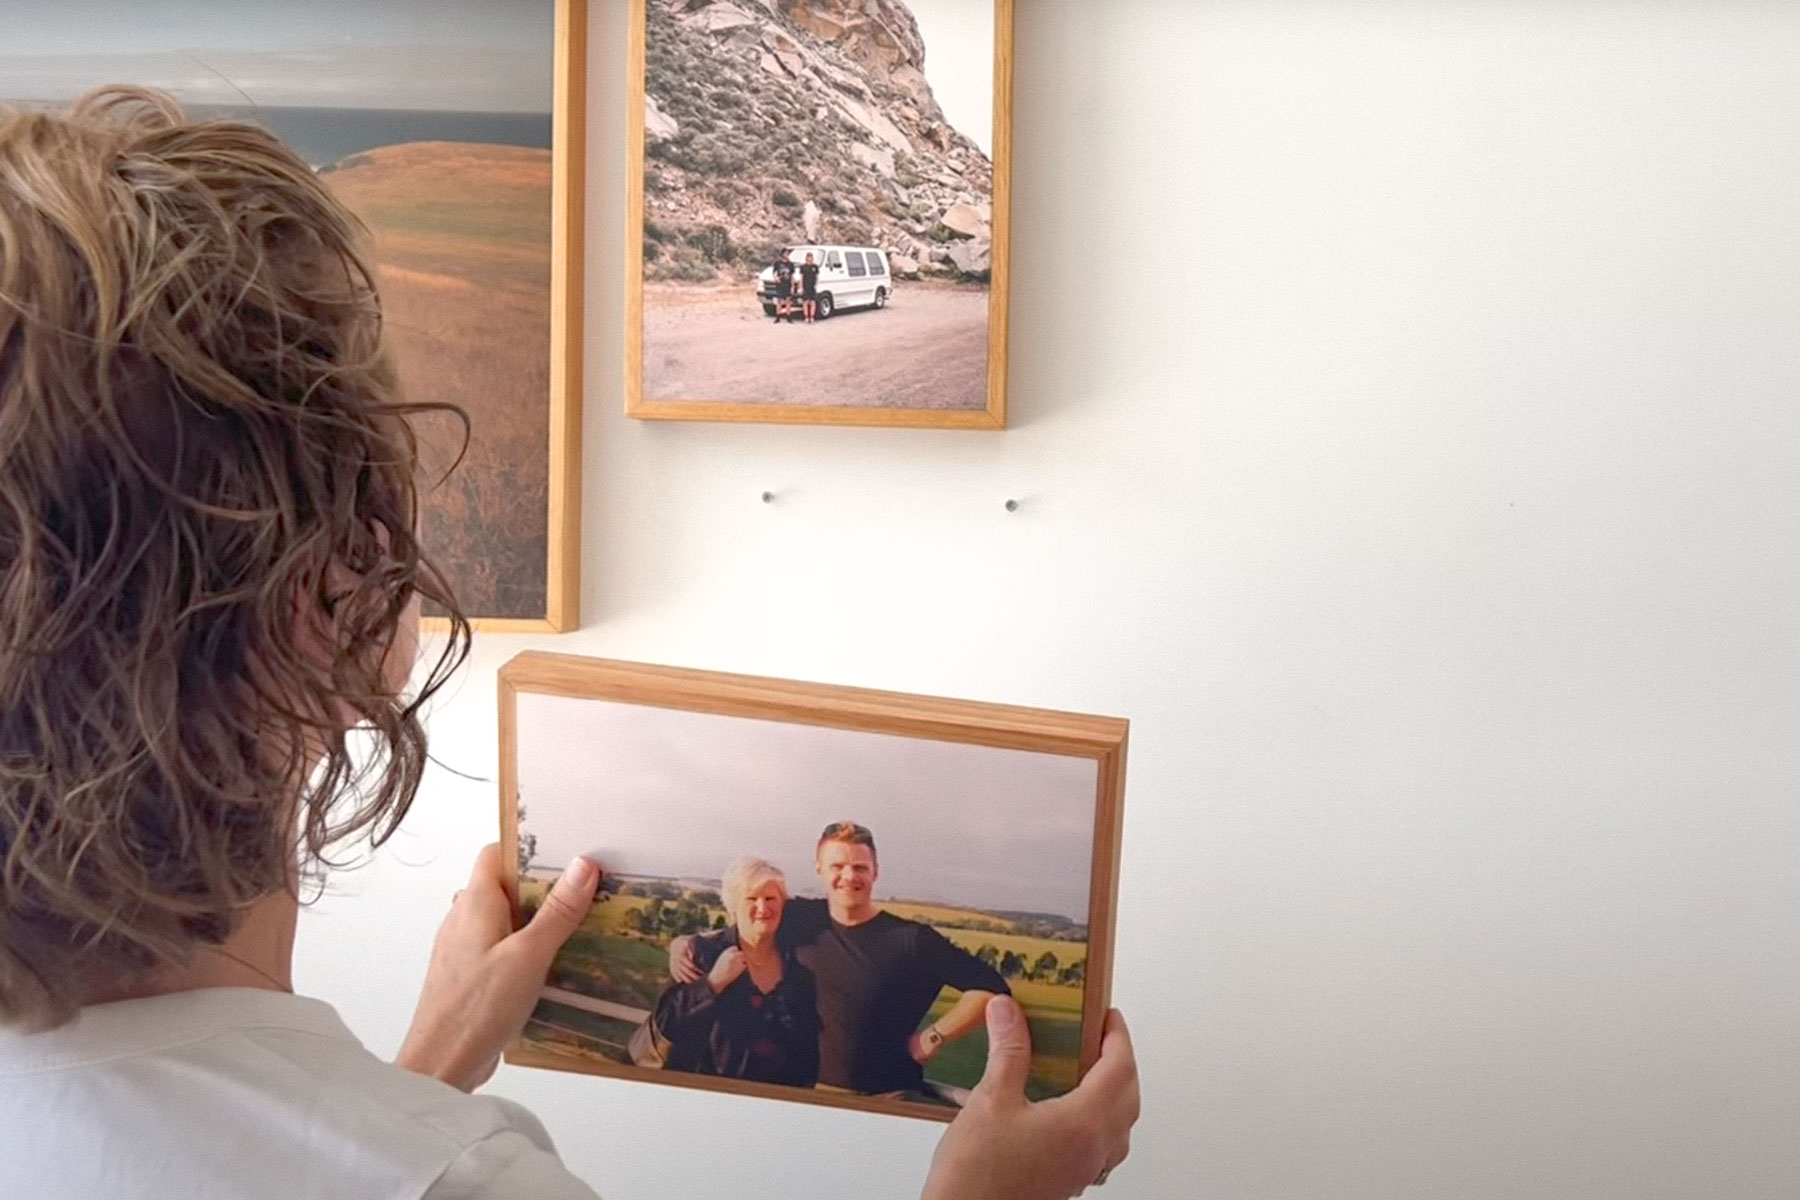
OnStones aren’t traditionally framed artworks — they’re solid stone prints held within a timber frame. Because of this, they’re designed to hang from the frame itself, using the natural recess created at the back.
This method keeps the stone sitting flush, stable, and exactly as intended.
Important considerations
OnStones are semi-fragile, similar to a ceramic plate. If dropped onto a surface harder than the stone, they can break.
Please choose a hanging method that suits your wall type, placement, and household activity.
Hanging methods
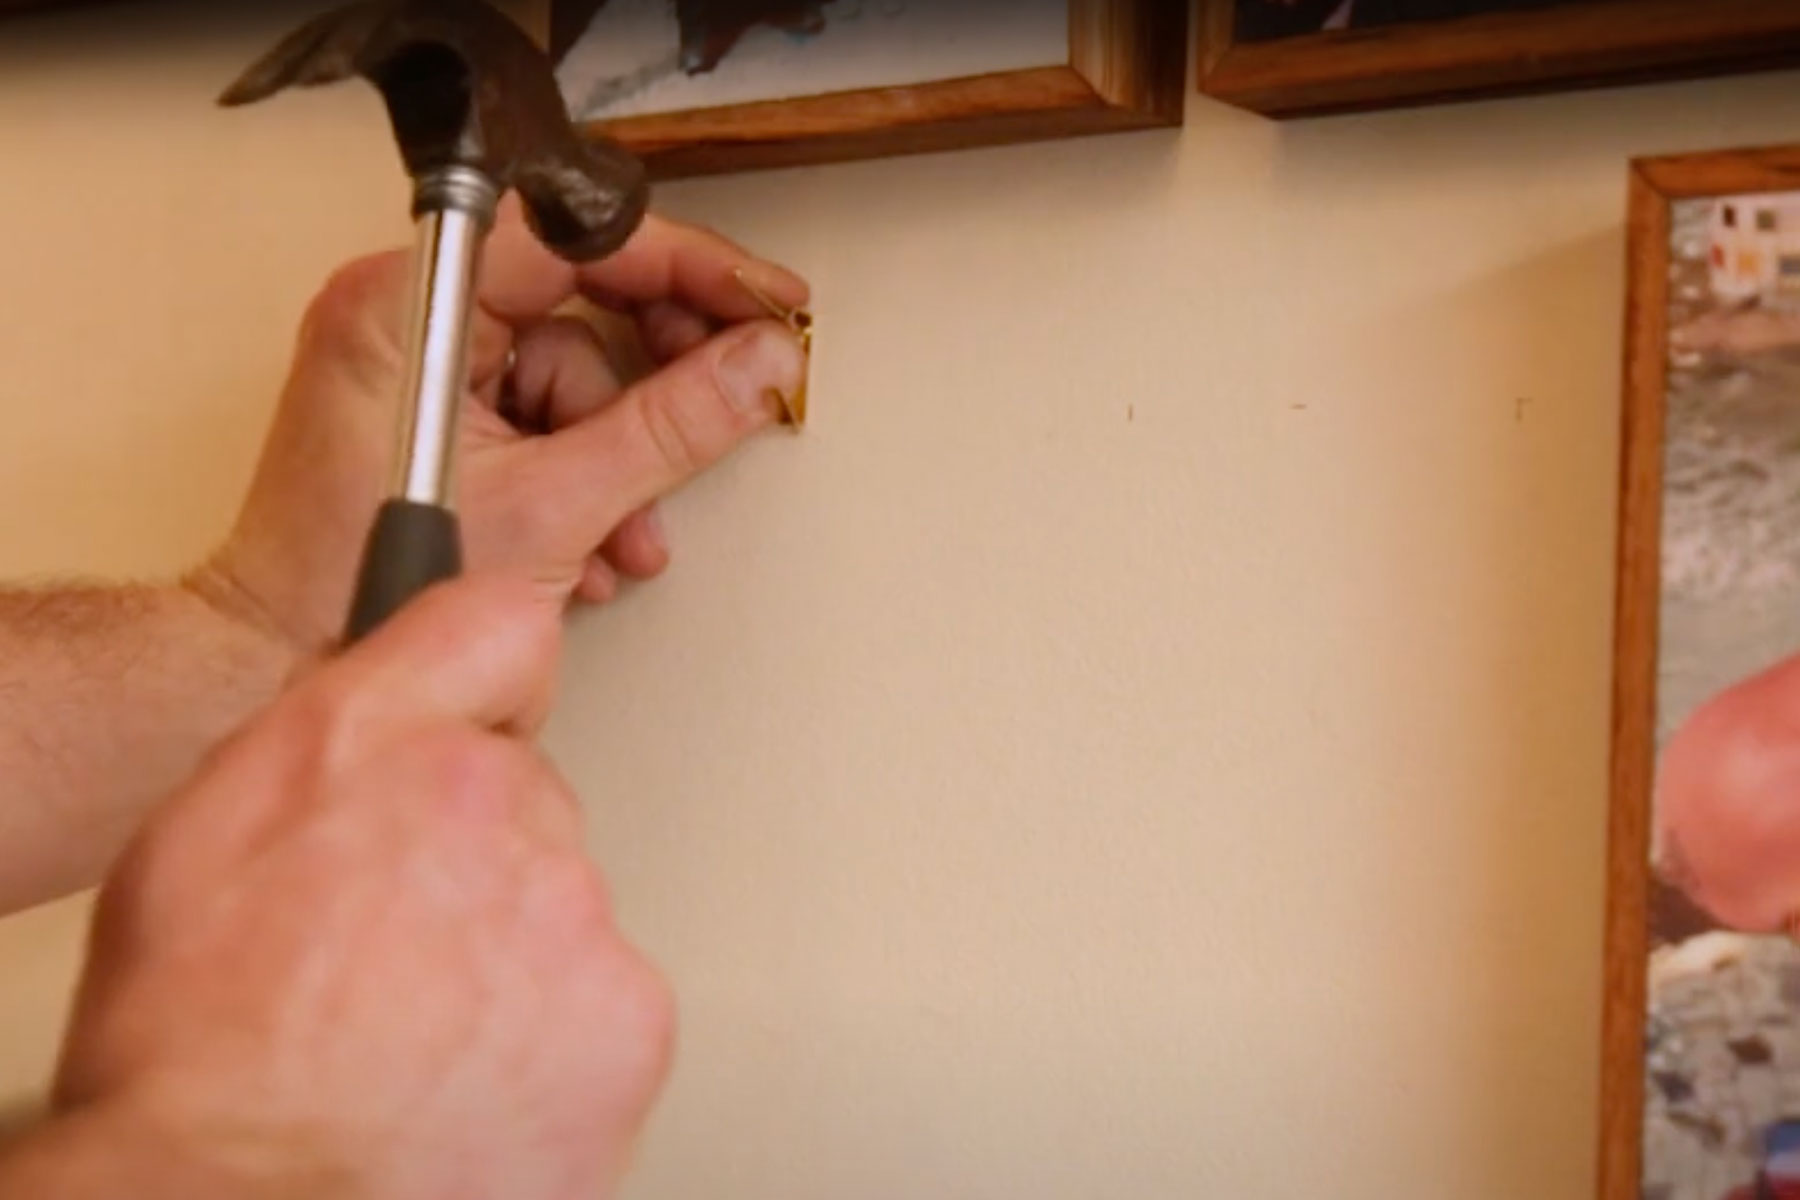
1. Hanging from the timber frame (recommended)
This is how we hang all OnStones in our studio and homes.
How: Use two screws or nails, spaced evenly, and hang the stone directly from the timber frame.
[watch video]
Why this works
- The frame creates a natural ~30mm ledge
- The stone sits flush to the wall
- Weight is shared evenly across two points
✅ Pros:
- Easy to install
- Sits flush against the wall
- Stays straight over time
⚠️ Cons:
- Requires two holes
- Not ideal for high-impact areas (door slams, vibrations, young children)
2. 3M Canvas Hangers (recommended for small & medium OnStones)
How: Follow 3M’s instructions carefully — surface prep matters. [watch video]
✅ Pros:
- No wall damage
- Clean, hidden result
- Sits flush against the wall
⚠️ Cons:
- Not suitable for Pro / large sizes
(unless increasing from 2 → 3 hangers, or using 2 × Jumbo)
- Not recommended for high-impact areas
- Adhesion depends on correct prep and curing time
3. D-Rings (professional method)
How: D-rings are attached to the frame and hung from two wall hooks. [watch video]
✅ Pros:
- Very secure
- Preferred by professional hangers
- Stable and straight
⚠️ Cons:
- Requires precise measuring
- More fiddly to install
- Two small holes per frame
4. Hiring a professional hanger
If you’d rather not DIY, we can recommend installers (Victoria only) who work with OnStone regularly.
✅ Pros:
- Hassle-free
- Permanent, well-measured result
⚠️ Cons:
💡 If hiring a professional hanger, let us know when ordering and we’ll fit D-rings for you.
5. Hanging with wire (not recommended)
Wire was used on earlier OnStones, but we no longer recommend it.
Why we’ve moved away from wire:
⚠️ Cons:
- Causes the stone to lean forward
- Requires regular straightening
- Adds unnecessary hardware and carbon
- Still requires two wall holes
If wire is genuinely needed for your space, you can still select this option during image upload.
6. Standing your OnStone (for small sizes only)
Only small OnStones are designed to stand on mantels. We offer two depths:
- 35mm depth: For wall hanging
- 45mm depth: For mantel standing
📝 Add a note to your order: “Mantel standing” if required.
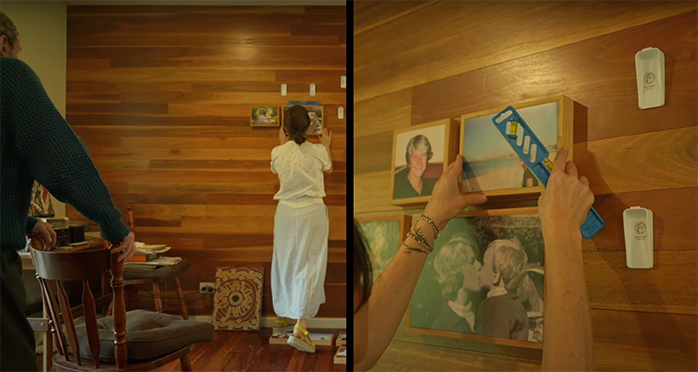
Gallery walls & larger orders
For multi-stone layouts, we offer a design service with a full-scale hanging map once your layout is approved.
Tape the map to the wall, use a level, and mark fixings with confidence — no guesswork.
🛠 General tools
- Screws (plasterboard) or nails (timber)
- Masking tape
- Level
- Pencil & ruler
- Blu Tack (optional, for base stabilisation)
🛠 For 3M Canvas Hangers
Final notes
✔ Framed stone is lighter than glass and safely supported on two anchor points
✔ Most adhesive hooks are unreliable — 3M Canvas Hangers are the only adhesive option we recommend
Need help?
We’re happy to help with:
- Brick walls
- No-hole solutions
- Mantel displays
- Design & hanging maps
- Older OnStones
📧 shop@onstone.com.au
More - FAQ